為什麼這篇sj4000評價鄉民發文收入到精華區:因為在sj4000評價這個討論話題中,有許多相關的文章在討論,這篇最有參考價值!作者mizumutsuki (真夜)看板biker標題[分享] 行車記錄器SJ4000簡易開箱與測試...
行車記錄器其實我幾年前就想要買了,明明知道是很重要的東西,
但是就為了那兩三千塊,一直買不下手。
(有的時候人的心態很奇怪,各種保險都願意買了,行車記錄器的錢卻想省Orz)
直到前陣子我弟出車禍,被帶耳機聽音樂闖紅燈的人撞。
人雖然沒事,但是沒有行車記錄器錄下事發經過,
幸好後方機車騎士有錄到,還願意提供影片。
於是打鐵趁熱,趁這時候衝動購物,買了SJ4000當作自保用的工具,
如果沒用到就沒用到,有用到時會覺得這兩千塊真是用的太值得了XD
廢話不多說,開始來開箱。
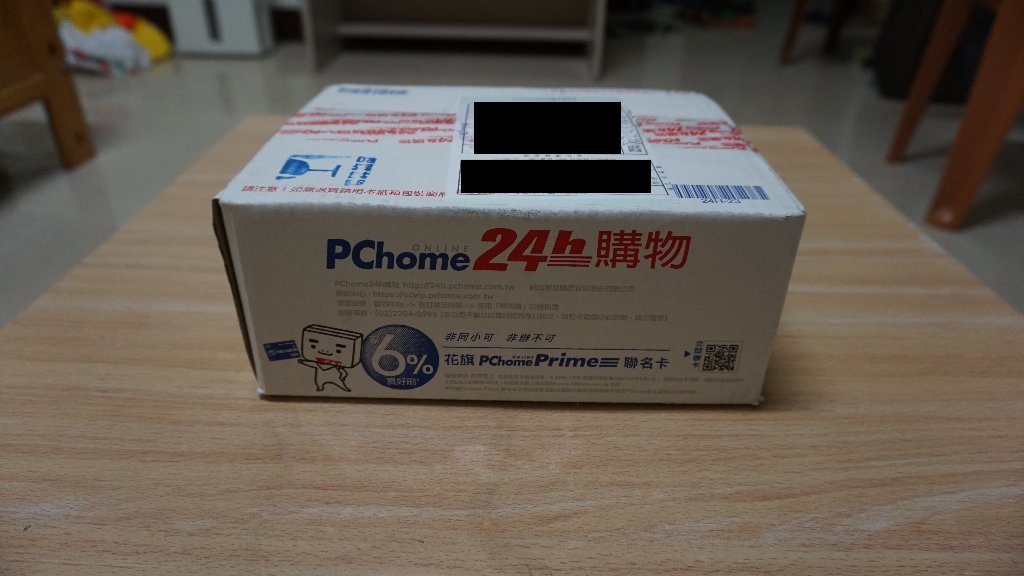
這個是在pchome 24小時買的,應該不用擔心買到假貨
https://images.plurk.com/3JVPWFH9P3niccPYlo5T.jpg
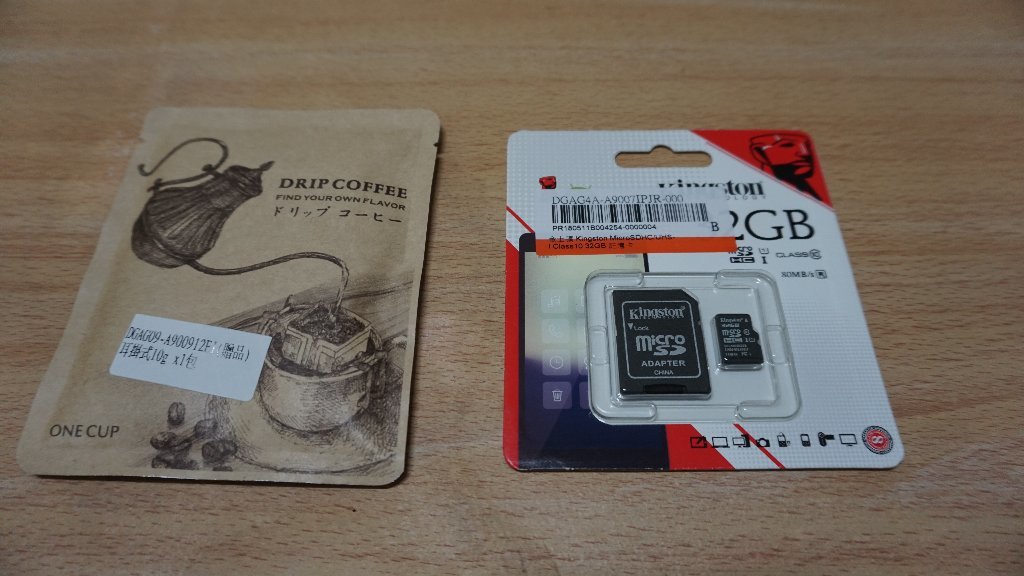
還一起買了金士頓的32G記憶卡,我查到的資料說,SJ4000最多支援到32G
不過錄三分鐘1080p 30fps的影片也才300多M,32G很夠用了
https://images.plurk.com/321kYChqc8o0Oys5lo5T.jpg
SJ4000的外包裝
https://images.plurk.com/5A5mkLyID4xjBsi0lo5T.jpg

拉開來,還有一層
https://images.plurk.com/1oI7UD1mB7p0N2yRlo5T.jpg
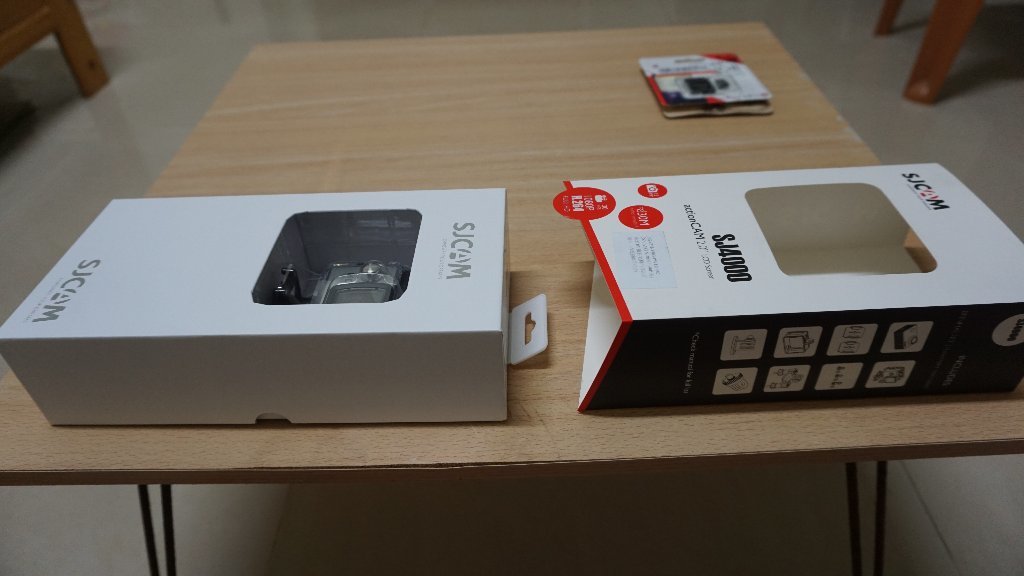
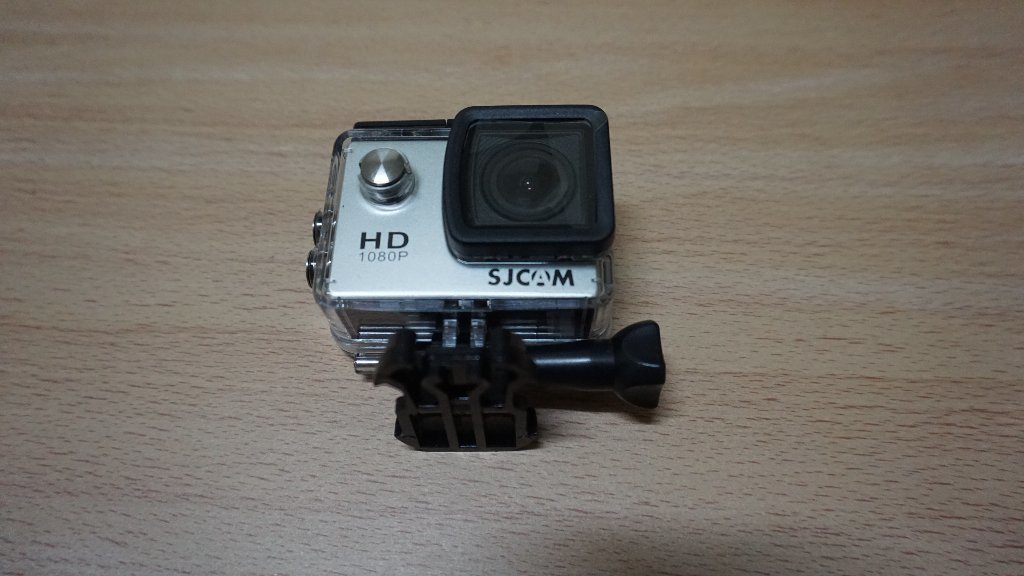
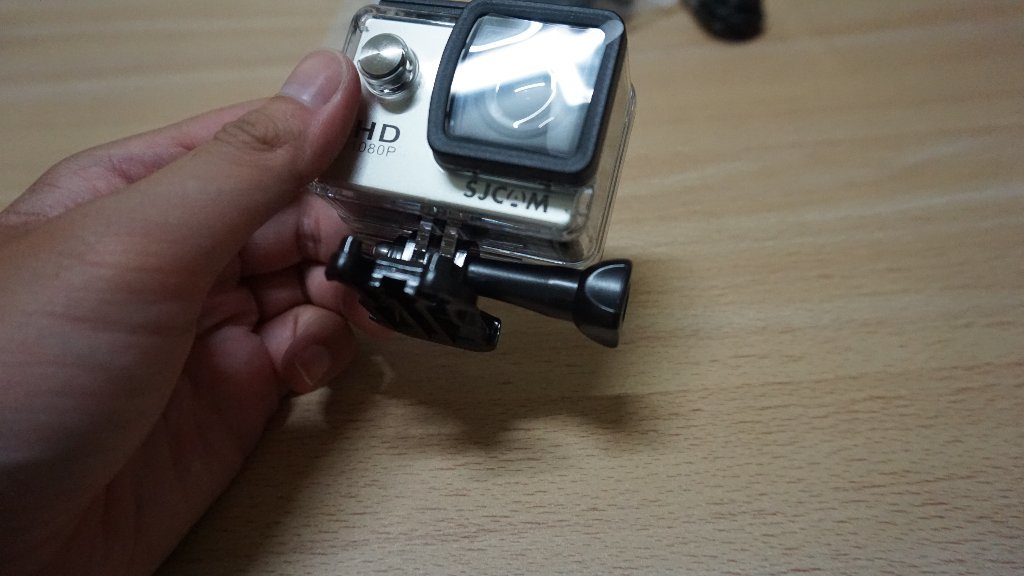
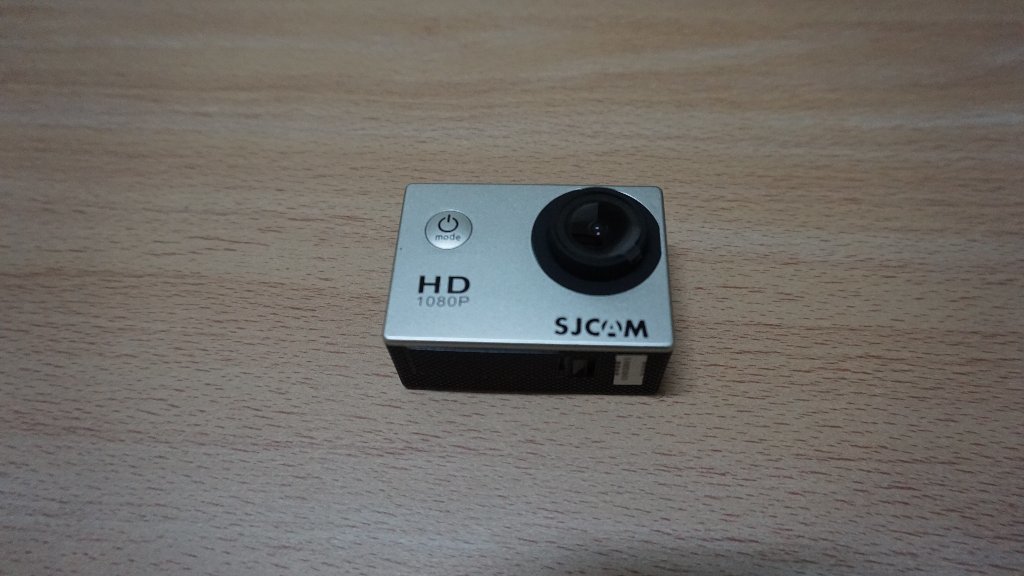
驗明正身,鏡頭下方有SJCAM字樣
https://images.plurk.com/1WVVKA821wQj4RRXlo5T.jpg

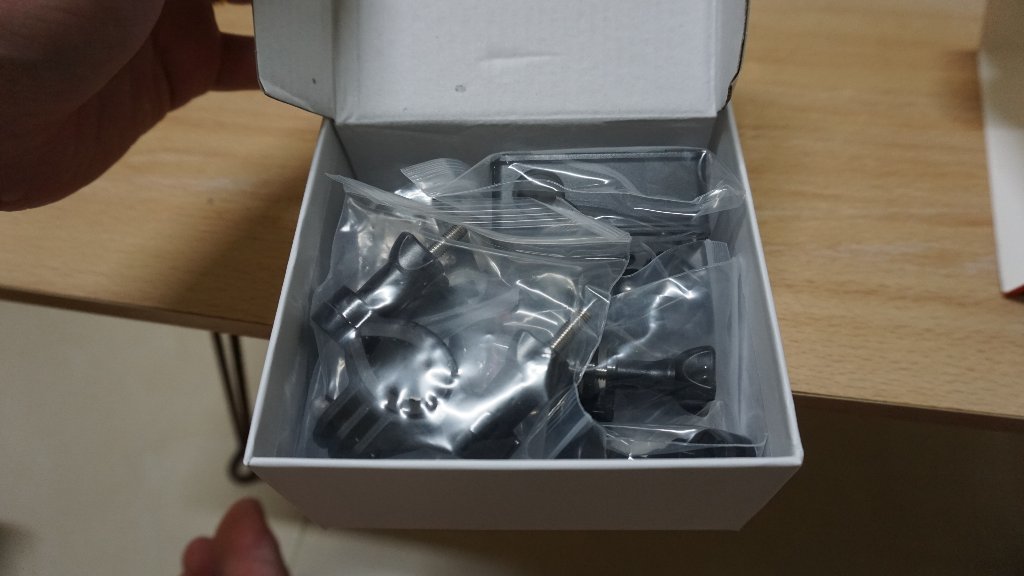
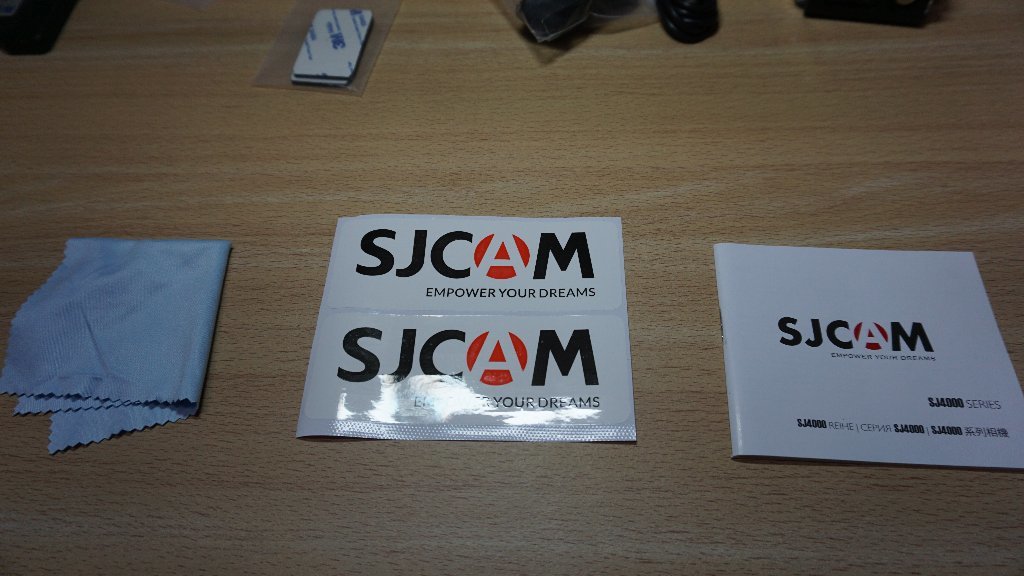
除了攝影機本身外,盒子方上下兩個空間都放有原廠配件
配件給超多的
https://images.plurk.com/3Mcnp1r3kuWBispylo5T.jpg
https://images.plurk.com/7ySVIECVNn957wEflo5T.jpg

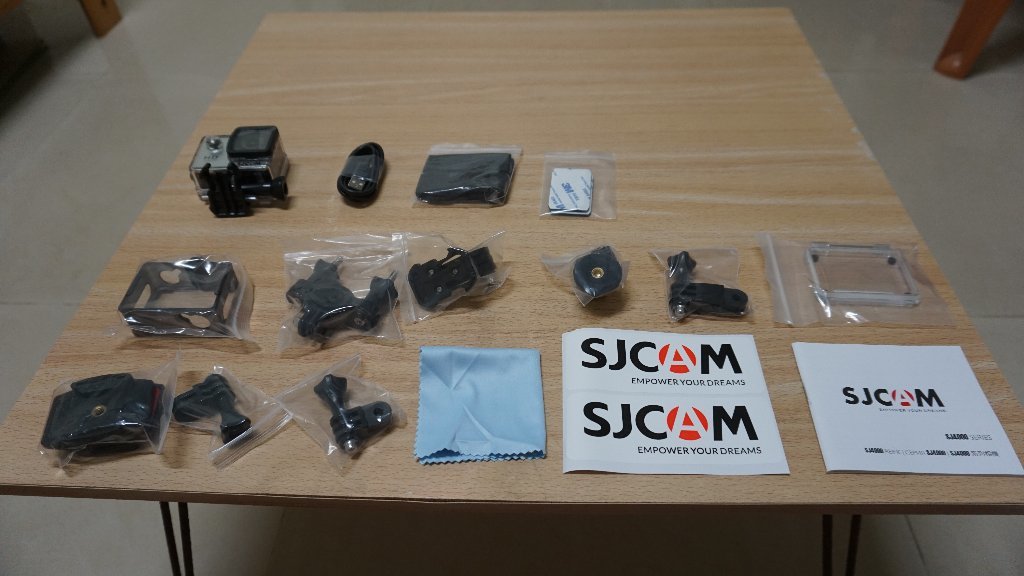
所有東西排出來有這麼多,這樣只要2000元左右,
雖然攝影機才是重點,但是看到配件這麼多就是爽啊XD
https://images.plurk.com/4lCRxtaxrn2nqqCulo5T.jpg
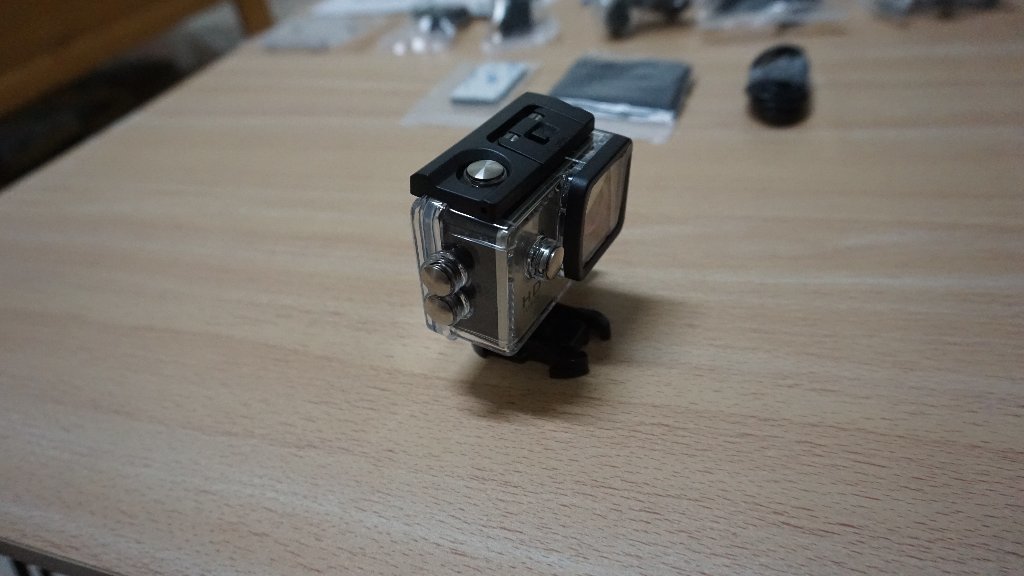
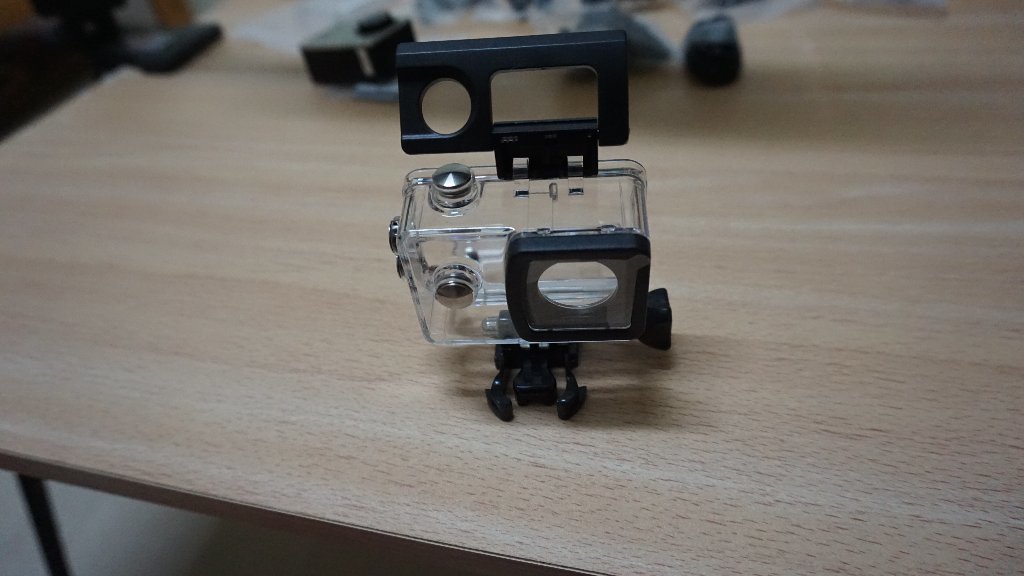
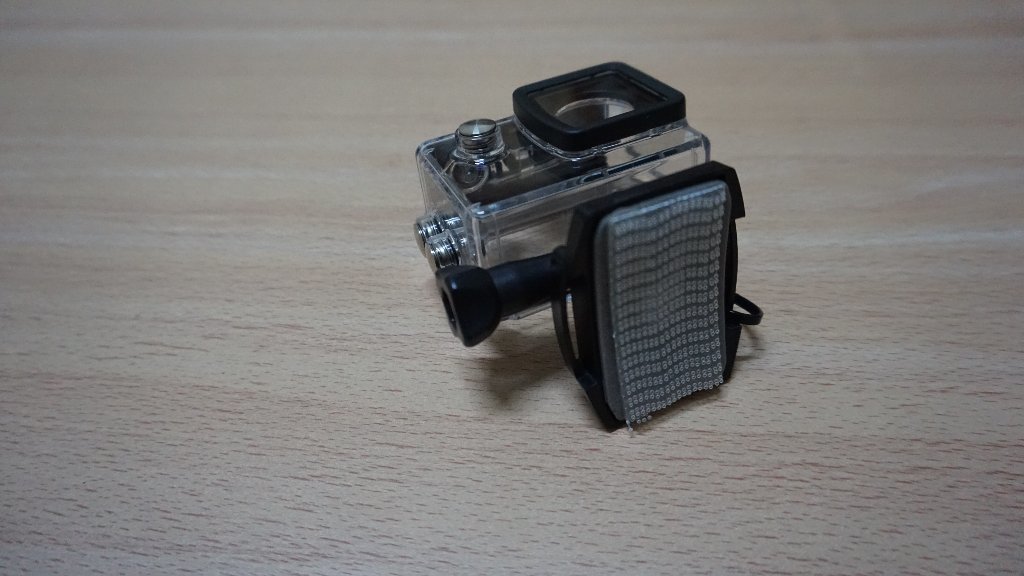
首先是攝影機本體跟防水殼
買來就已經裝在裡面
https://images.plurk.com/G6wIRuaBQ3TGHqmllo5T.jpg
https://images.plurk.com/1JRARrziSu24fZpElo5T.jpg
https://images.plurk.com/4Ixz6zHdmyLQLJiGlo5T.jpg
https://images.plurk.com/6xfezAciBWmOBbdOlo5T.jpg
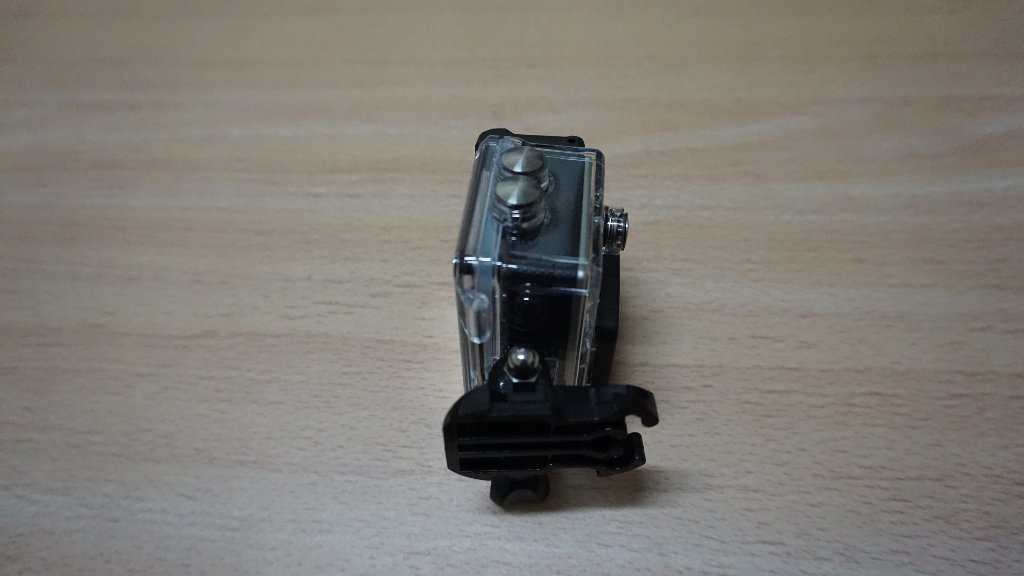
https://images.plurk.com/3KNI3ey8sY3KcnOjlo5T.jpg
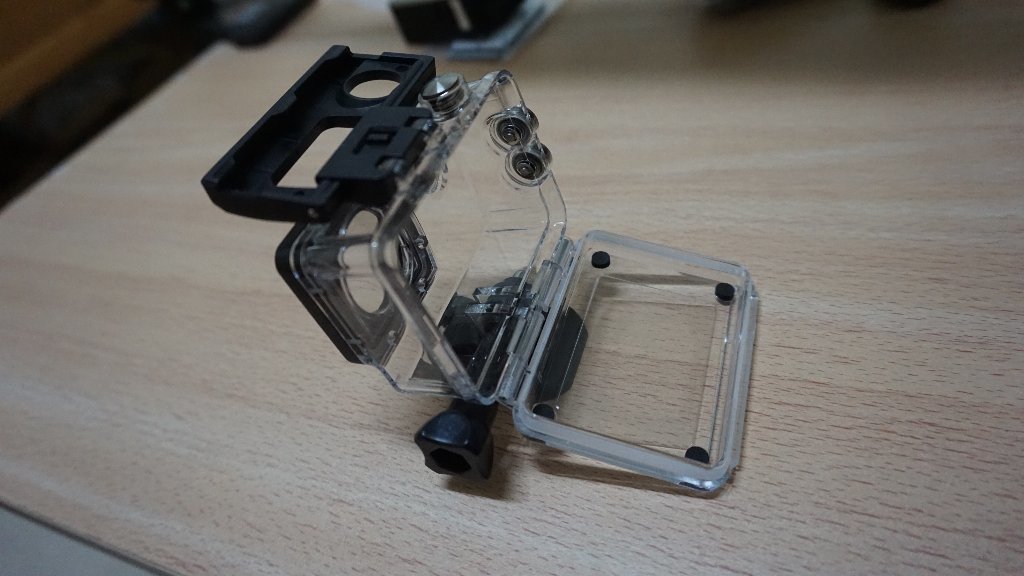
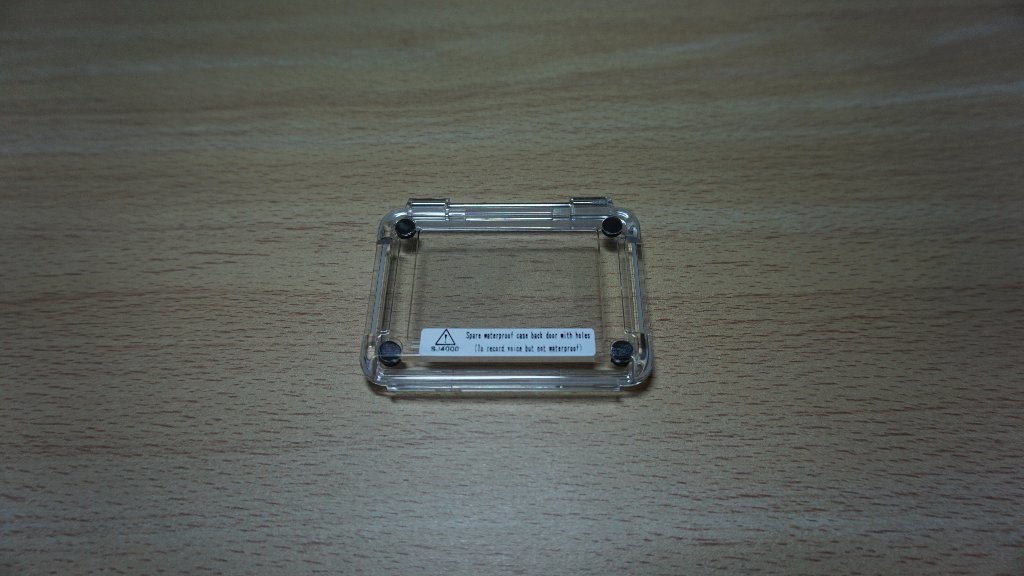
防水殼下面的手轉螺絲比其他配件的長,只有這個是要跟防水殼的
小心不要裝錯了
https://images.plurk.com/3IEafgMSqK5EI0kDlo5T.jpg
再來是各種配件
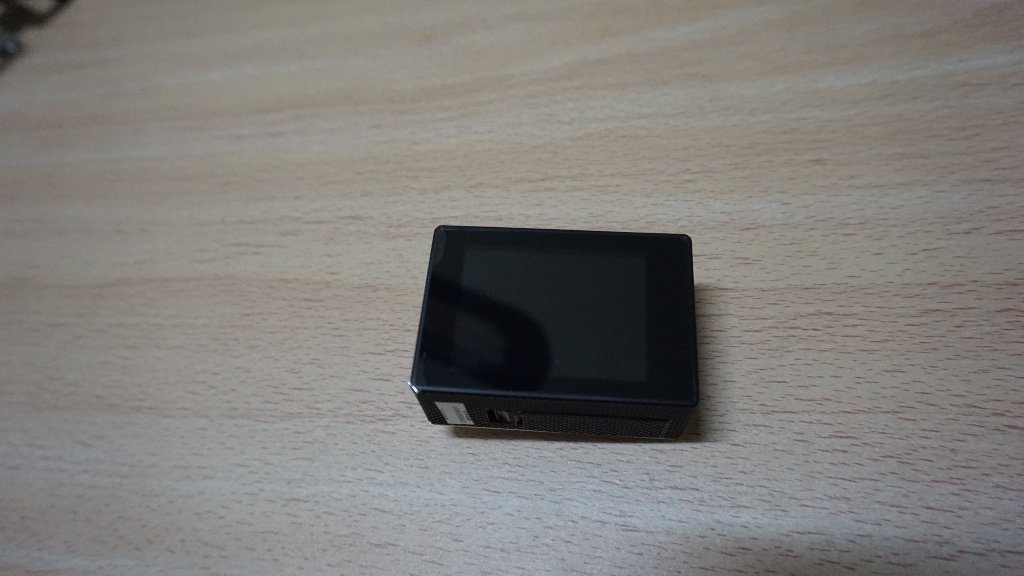
攝影機本體是這樣,很輕,那個外皮摸起來的手感很好
https://images.plurk.com/72wSvQpiXjoNvLNVlo5T.jpg
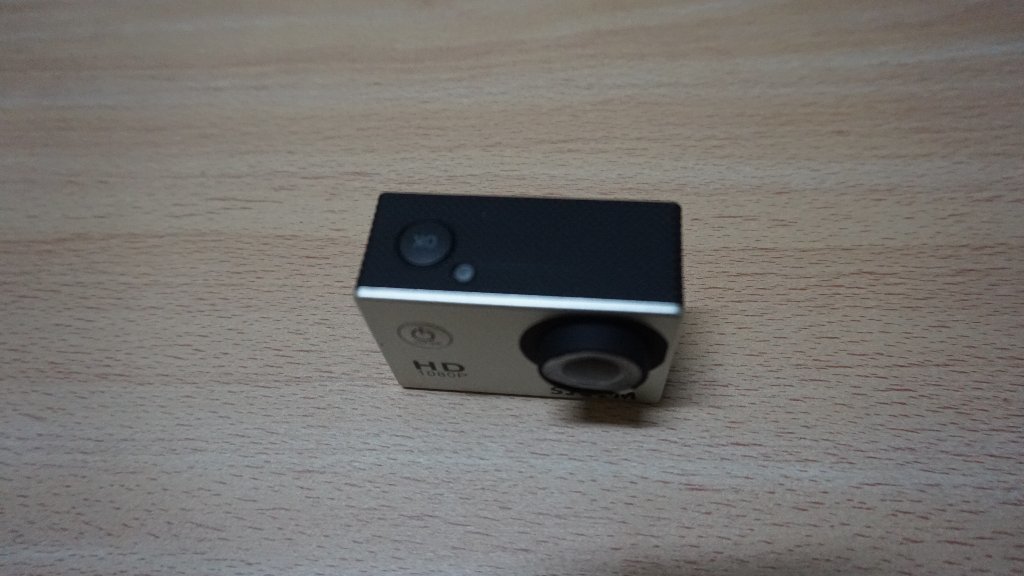
https://images.plurk.com/wPu0TksJezKkpAj2lo5T.jpg
https://images.plurk.com/1AQVzyFaIJQJ4BYalo5T.jpg
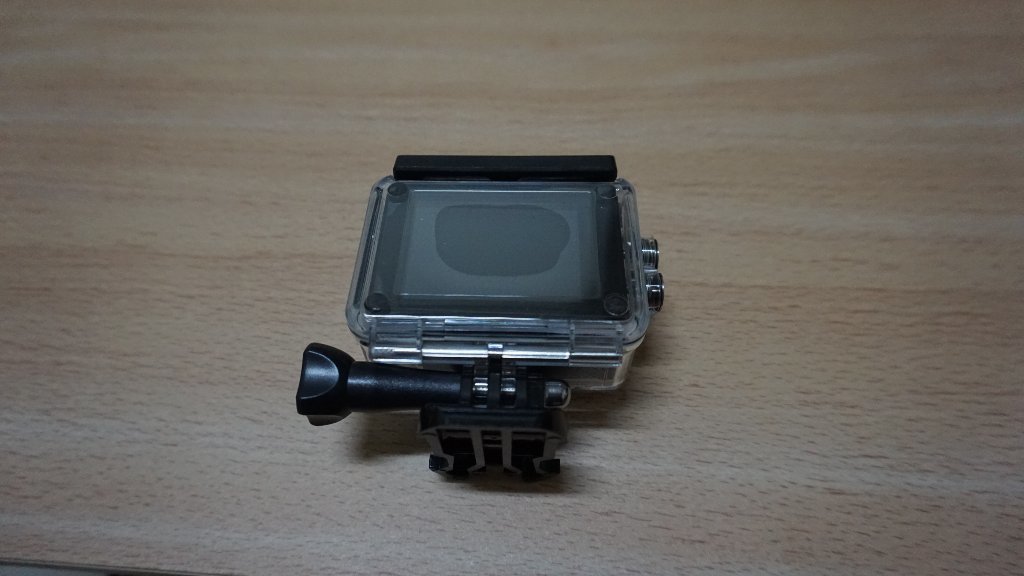
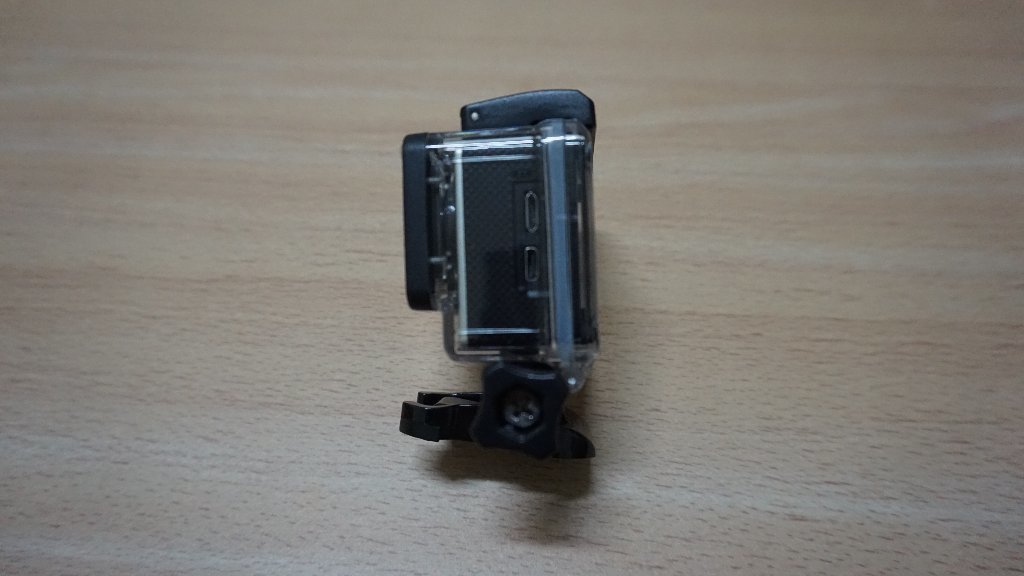
防水殼是這樣,很重,比攝影機還重,按鍵也很硬,不過不算難按
https://images.plurk.com/5dJ8GFP67Vt6HlxRlo5T.jpg
https://images.plurk.com/6UO4kO7vDMAbhnktlo5T.jpg

https://images.plurk.com/mZ4kpA731XegCuGVlo5T.jpg
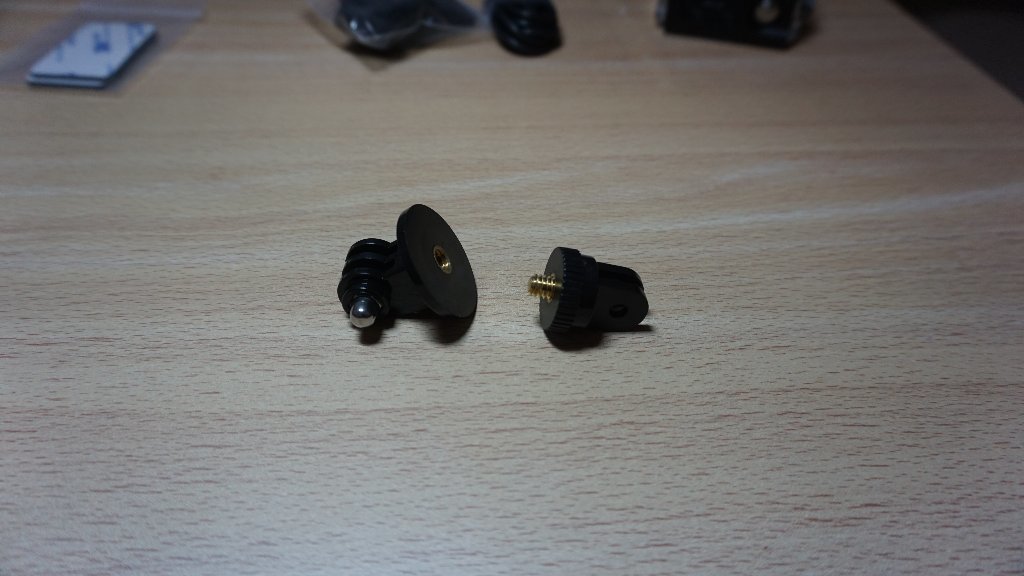
再來我比較在意的配件是底座
https://images.plurk.com/3jyPF36mFO3aqdUrlo5T.jpg
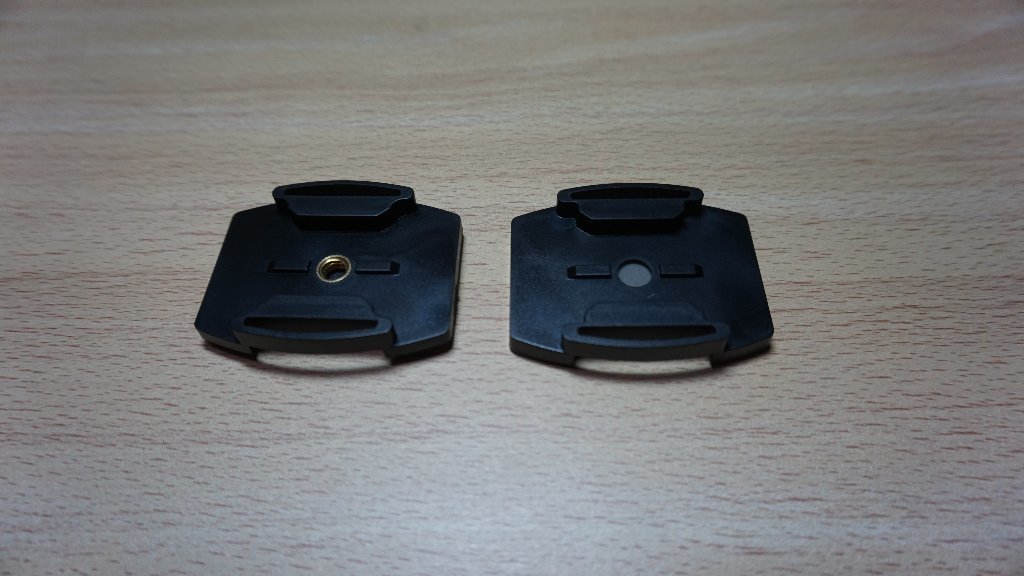
一個平底,一個圓底,圓底的是用在安全帽上面的,弧度很合
頭頂可以,下巴兩側也可以
https://images.plurk.com/3B4nkZmUqef7uc2hlo5T.jpg
https://images.plurk.com/6yJpkUfaYnCGGdx3lo5T.jpg
https://images.plurk.com/SF72ztx6EEZHK03Slo5T.jpg
https://images.plurk.com/1eXCl3i3rkBccwWhlo5T.jpg

https://images.plurk.com/33L24KgbxykOr7FBlo5T.jpg
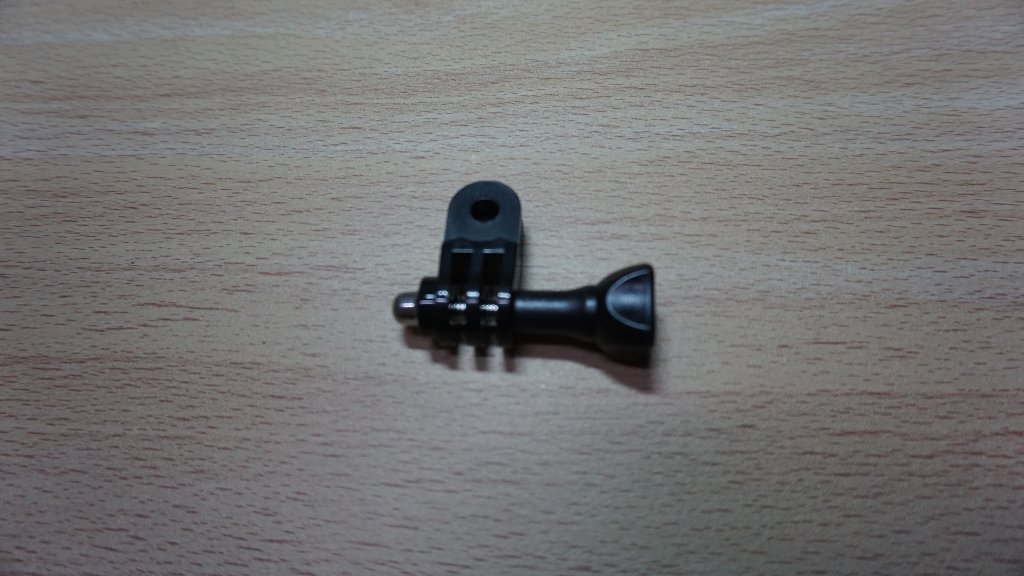
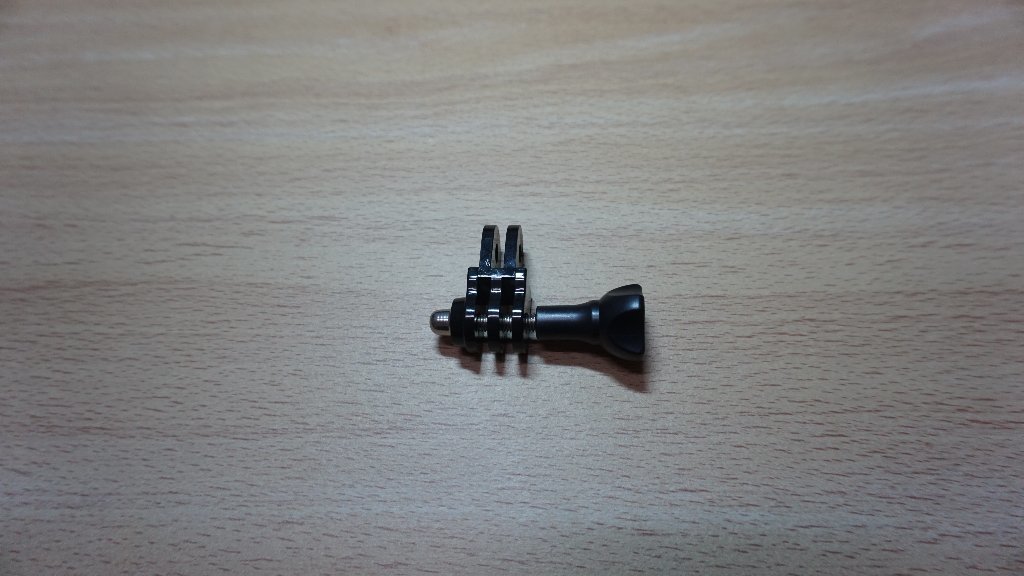
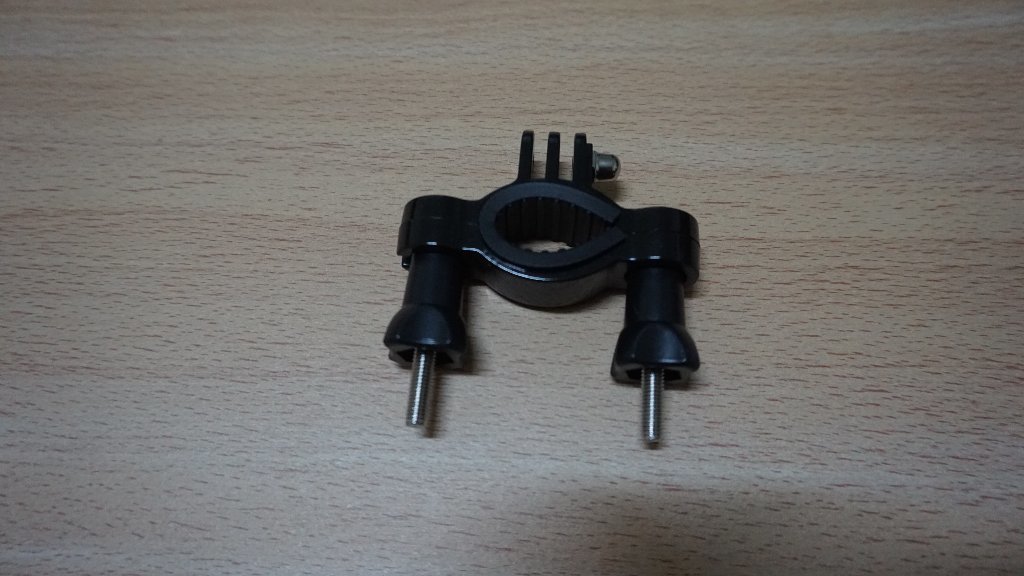
剩下的配件太多了,快速用圖片帶過,都是固定用或延長用的東西比較多
https://images.plurk.com/6PvJkf1RMagF8tOslo5T.jpg
https://images.plurk.com/6dzZcMwm3qoiVR7plo5T.jpg
https://images.plurk.com/4TEsLF4sOTAw9W7Dlo5T.jpg

https://images.plurk.com/4GlyBtSMhWtClcVLlo5T.jpg
https://images.plurk.com/3Si5mwxGMptq6w5Tlo5T.jpg
https://images.plurk.com/2AggMRlmgbrifIyIlo5T.jpg
https://images.plurk.com/4NJ0ewJNAHoIQD3Blo5T.jpg

https://images.plurk.com/3CiWAm8v5m9RYBfqlo5T.jpg
https://images.plurk.com/NWXN8OPZLIYJEGHIlo5T.jpg

https://images.plurk.com/4MIt4algCeTYhck4lo5T.jpg
https://images.plurk.com/3Fj8UR3x1OxT7ehVlo5T.jpg
https://images.plurk.com/5emya5TvNsPZCAdhlo5T.jpg
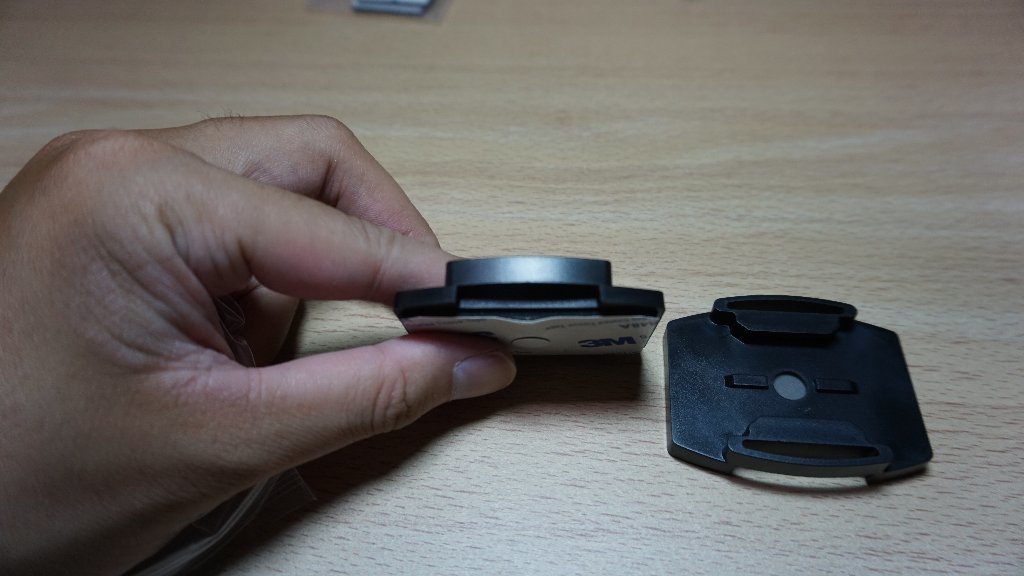
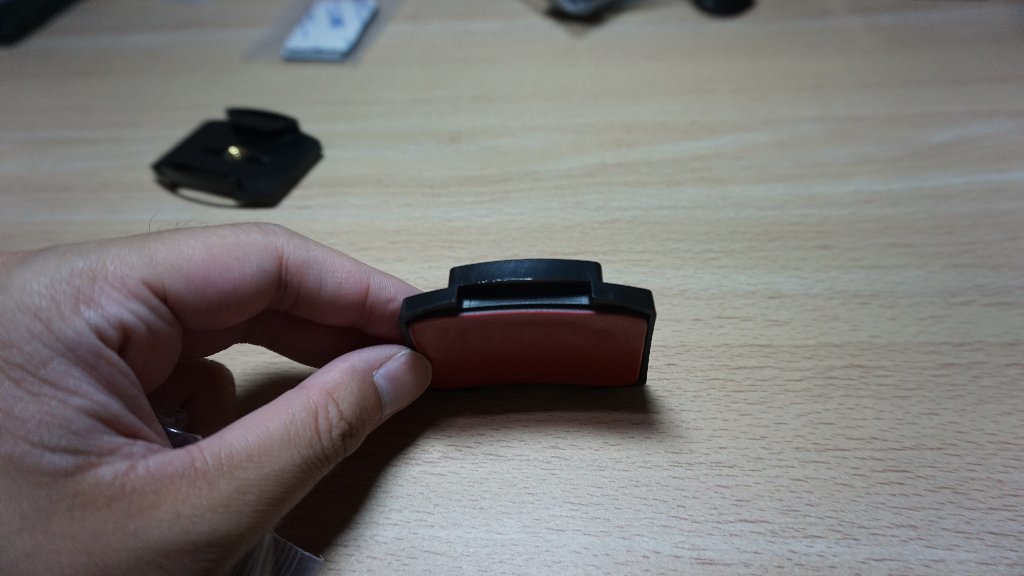
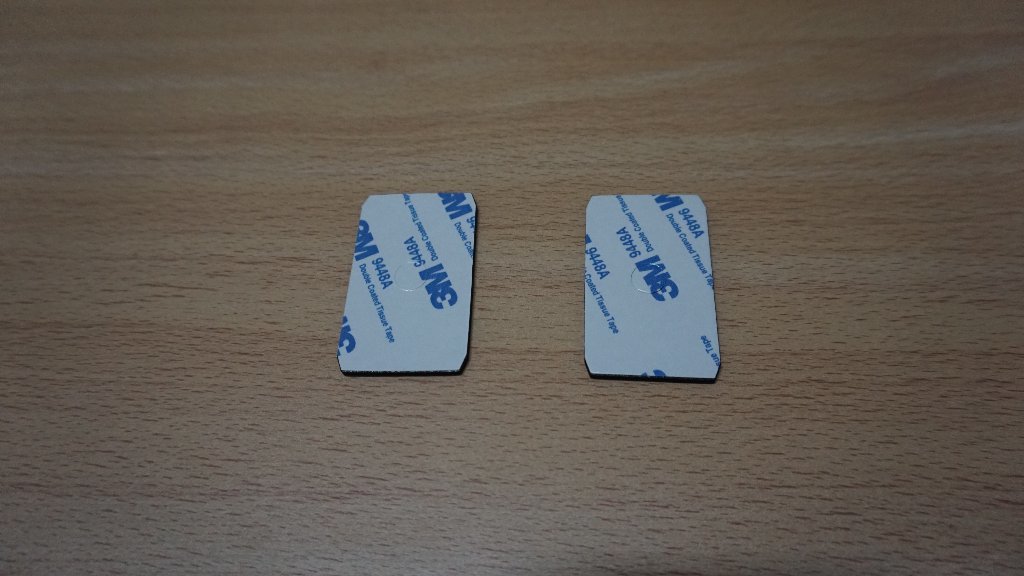
再來要把行車記錄器裝到安全帽上,爬文會發現3M子母扣用法很方便,
不會黏死在安全帽上,以後要換安全帽什麼都很方便。
在安全帽那側黏密度400的,行車記錄器底座黏250的。
但是澎湖很難找3M子母扣,我兩側都是用同樣密度。
找了5家五金行才找到型號SJ3560的子母扣,而且還要250元。
回到家查了才知道網路上賣只要150元,早知道就跟行車記錄器一起買(搥心肝
看官網(?)說SJ3560是密度250的,密度400的型號是SJ3561
http://www.shinhoda.com.tw/product-detail-1280093.html
沒得挑了,就250的加減用XD
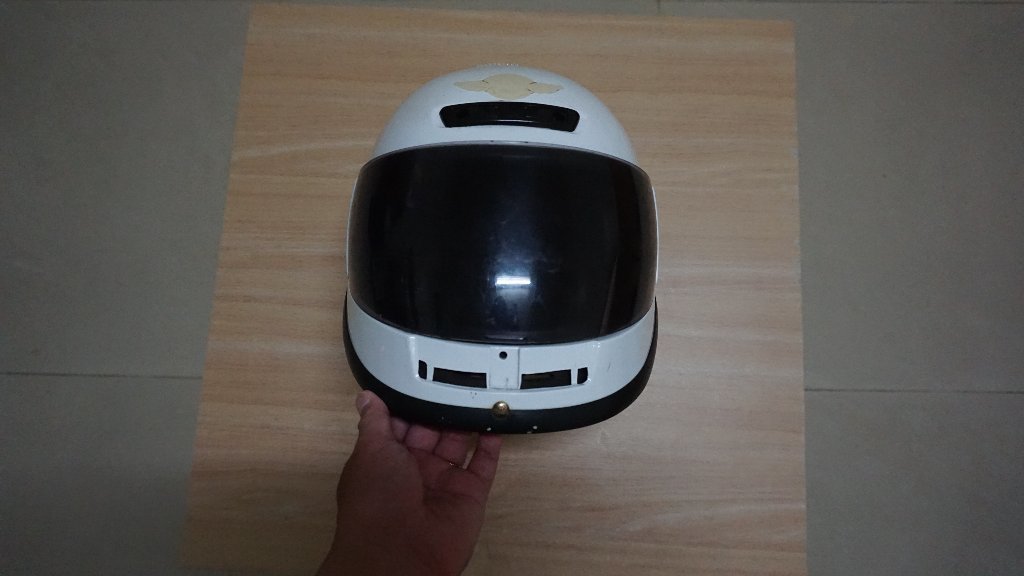
行車記錄器本來打算黏下巴,但安全帽中間掉了一塊,沒辦法直接黏正中央
https://images.plurk.com/4O2hnPaL6kEbHNgPlo5T.jpg
只好計畫黏兩側,再用附件的各種支架,把攝影機伸到中央
可能是小時候樂高玩的不夠多,那些支架我怎麼接都沒辦法順利把攝影機弄到中央,
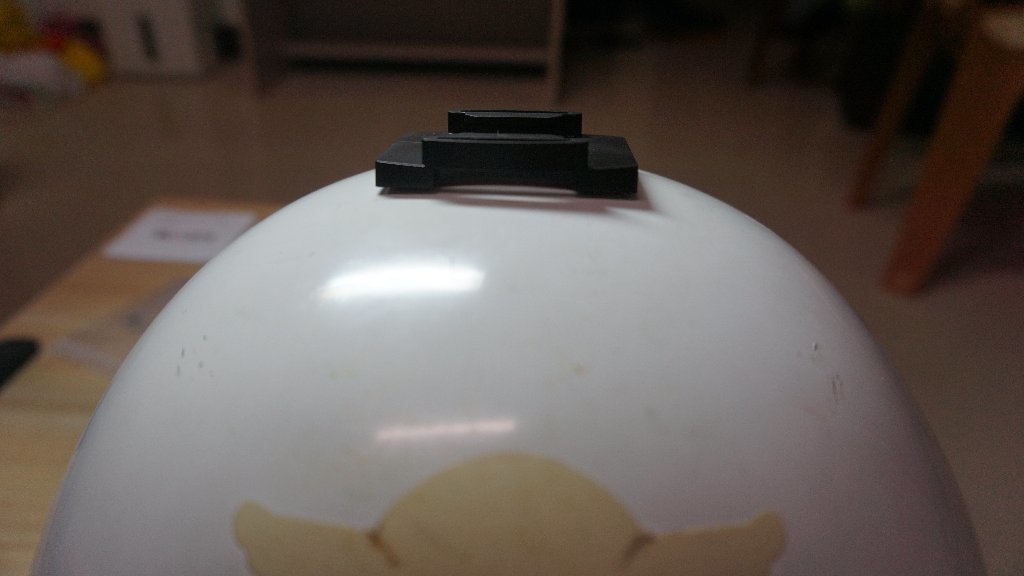
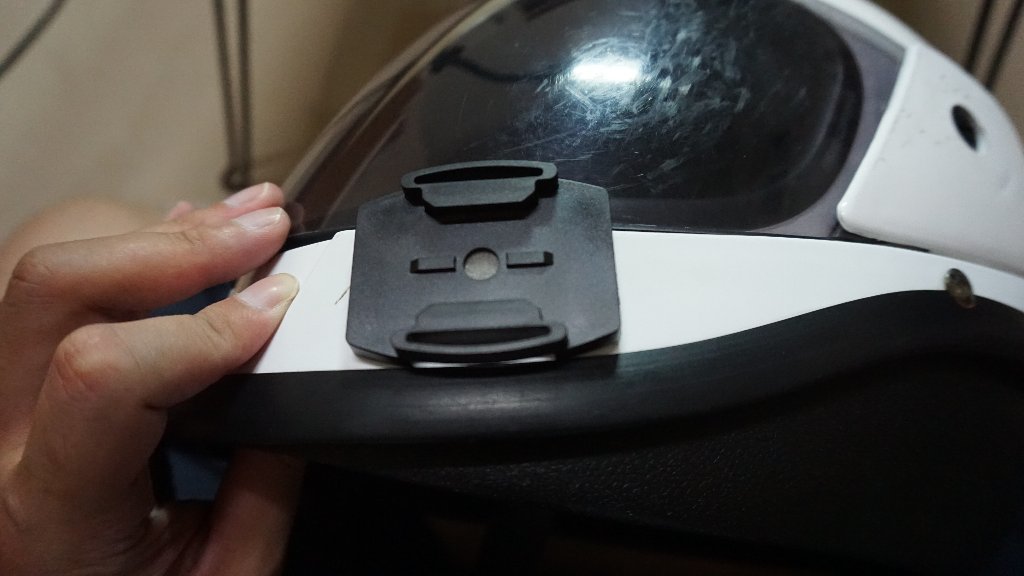
最後決定黏到頭頂。
https://images.plurk.com/1AdbPL4oRzX9HV59lo5T.jpg

行車記錄器的底座也要黏
https://images.plurk.com/7g7f9aZ44duTvVYilo5T.jpg
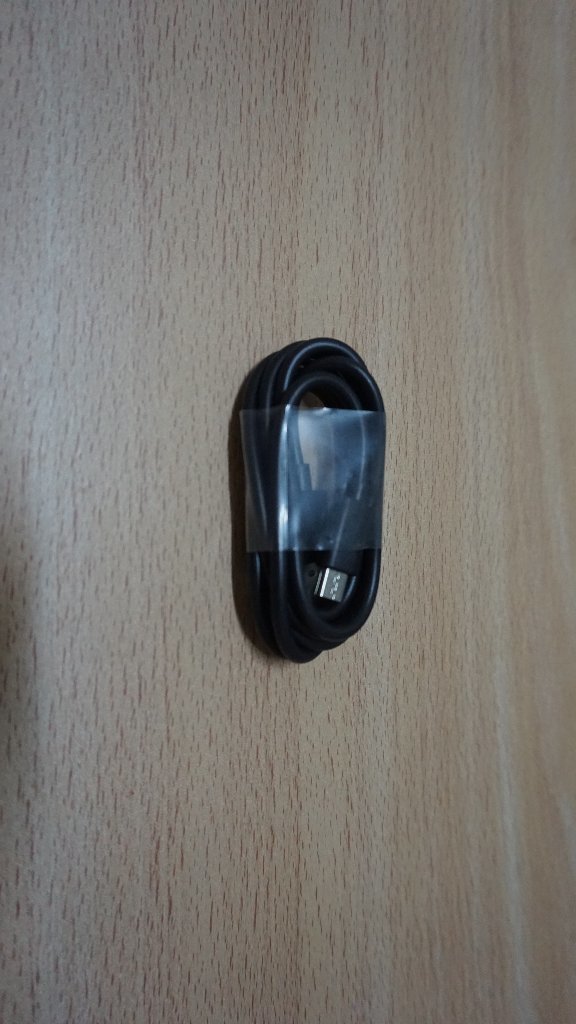
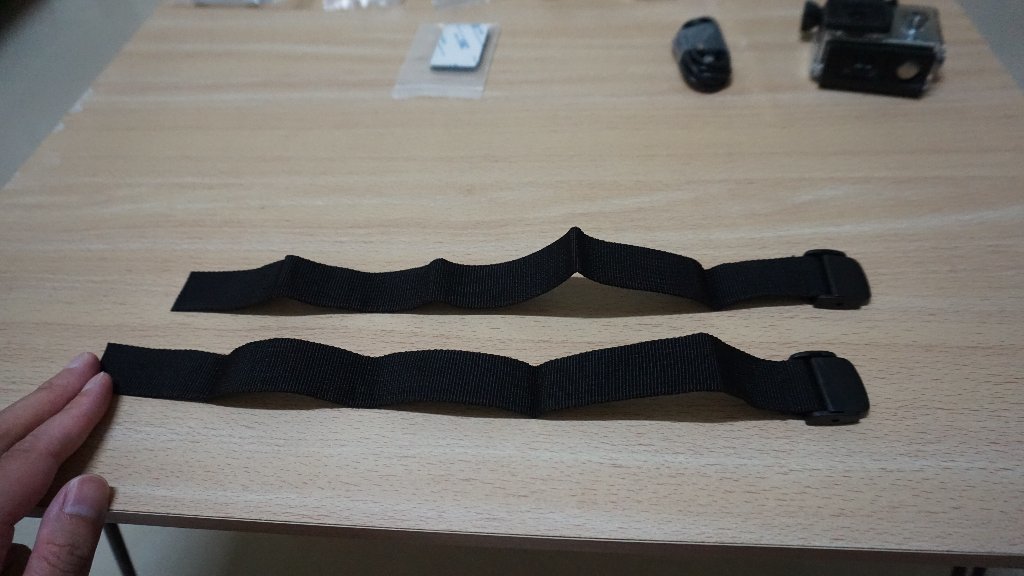
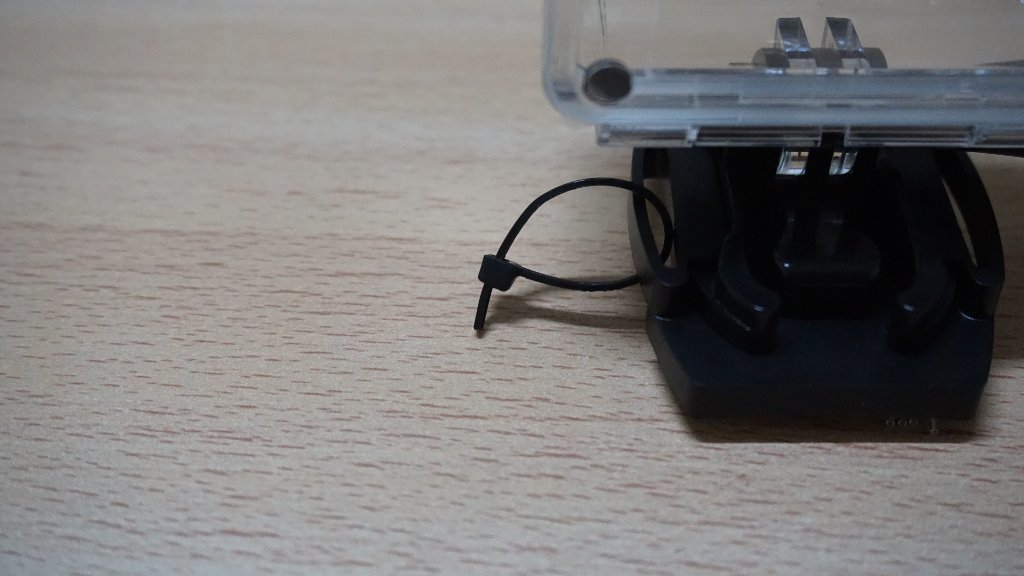
黏好之後,因為我很擔心騎到一半掉下來,還去買了束帶跟伸縮夾來做安全索
https://images.plurk.com/2wXsm89Ca3sLaEU9lo5T.jpg
https://images.plurk.com/7lvuAfGpLXeDaQLPlo5T.jpg

https://images.plurk.com/6lmZgApHjHmqSziflo5T.jpg
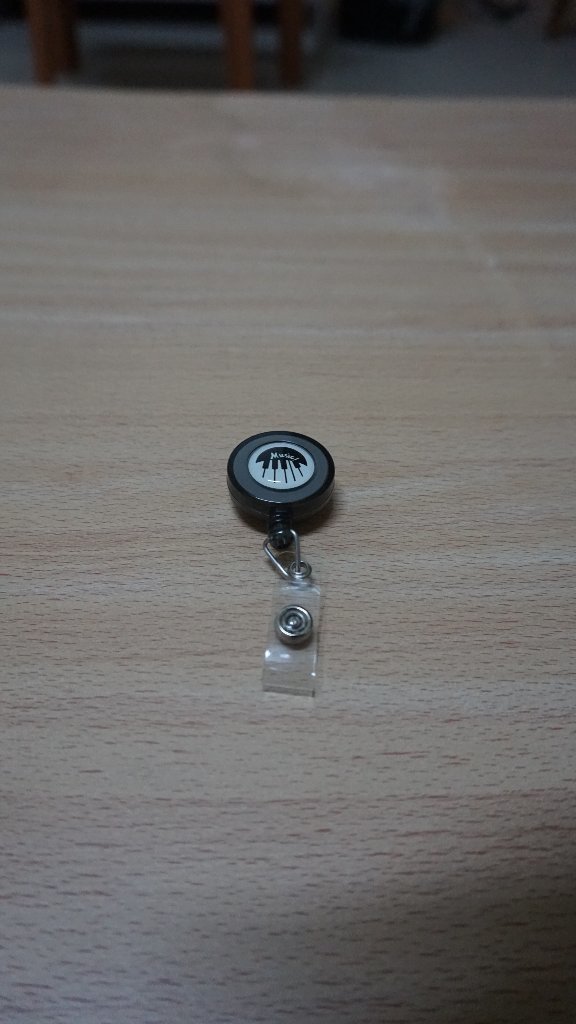
上面照片中伸縮夾下方是有固定扣,乍看之下很方便,其實不好用。
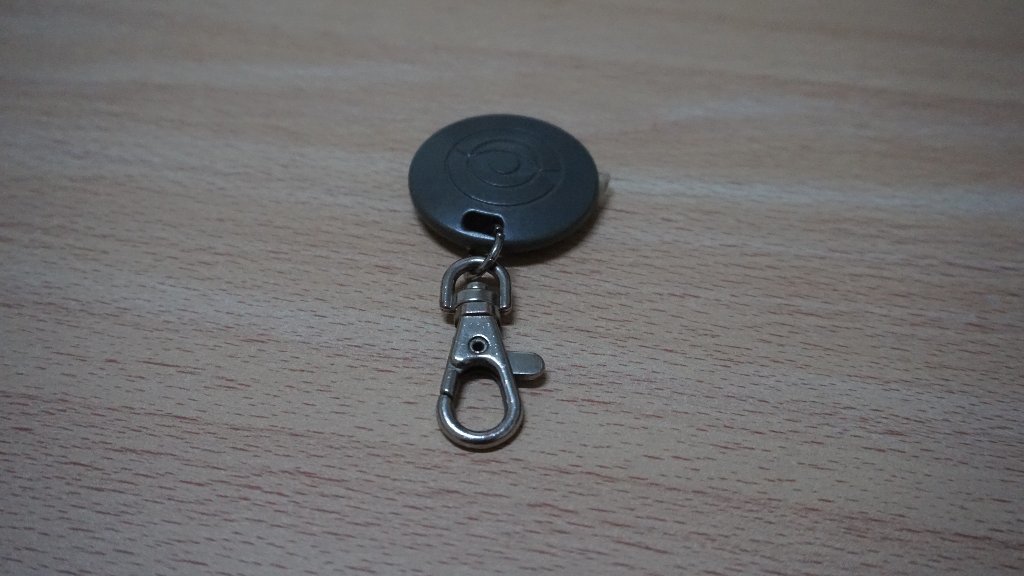
要用鑰匙圈的那種有彈性的扣具比較好,單手能操作。
像下面照片中那種,但是今天急著買,就沒特別去找那種扣具的夾子
https://images.plurk.com/5zsgnw9Sw8vEGLRClo5T.jpg
所有準備都完成後,就是指揮挺組合變成炸彈超人!
https://images.plurk.com/OjfMVq9uWfU1kzkHlo5T.jpg

https://images.plurk.com/4zWgTY4epbIWpmq5lo5T.jpg
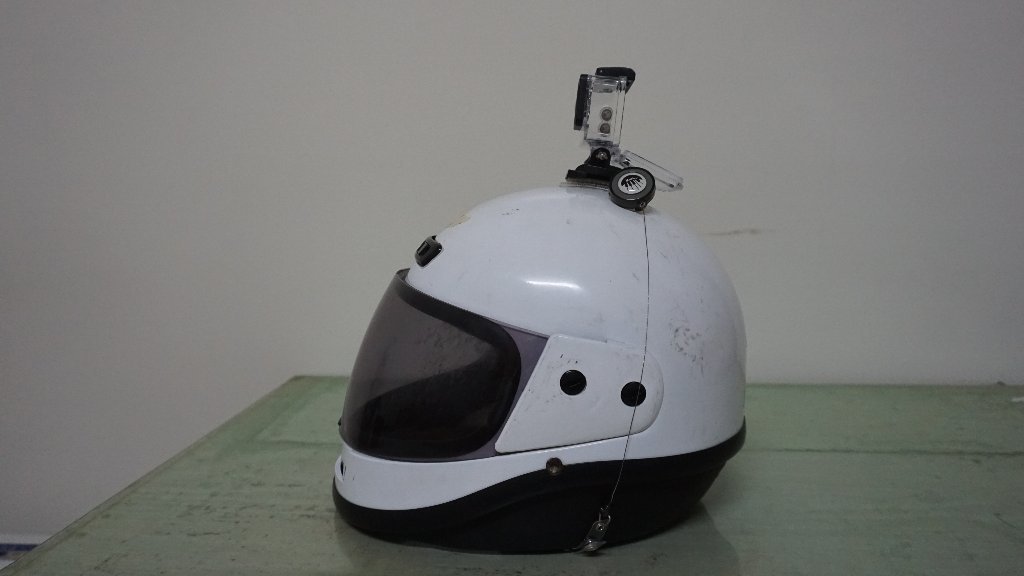
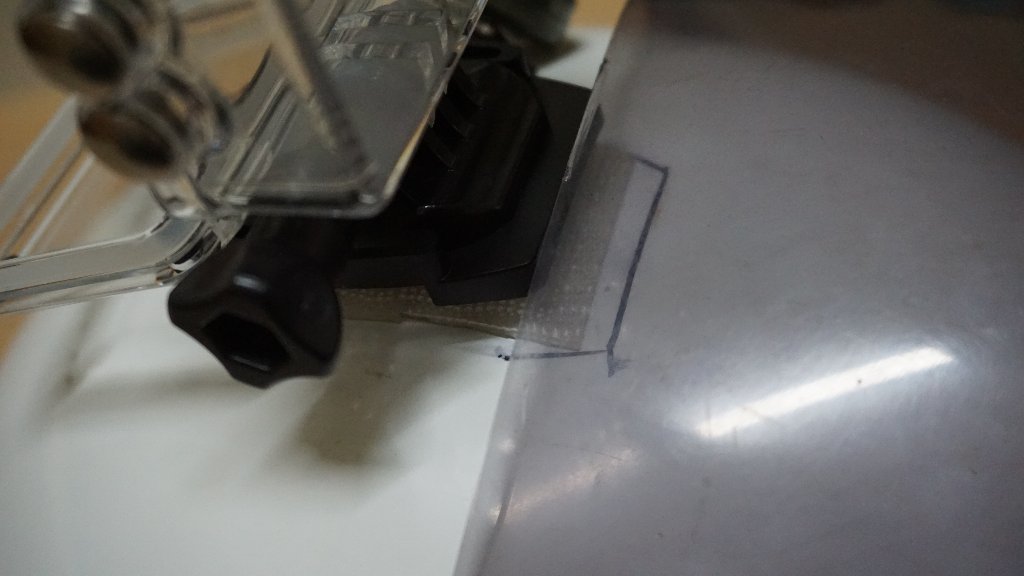
這邊有個要注意的,我在量攝影機位子的時候,有確定鏡片不會卡到,
但子母扣太厚,最後還是會卡到一點,這個也要注意
https://images.plurk.com/3bJJFCuKAbOFkD3Zlo5T.jpg
250密度的3M子母扣的強度與背膠黏度,比我想像中強
買來的說明說,黏好後要靜置72小時,網路上是說24小時,這樣背膠才穩。
因為我今天急著想做測試,只放22個小時就拿出來用,還好很穩固XD
我新高手125R騎表速50~60公里都沒影響。
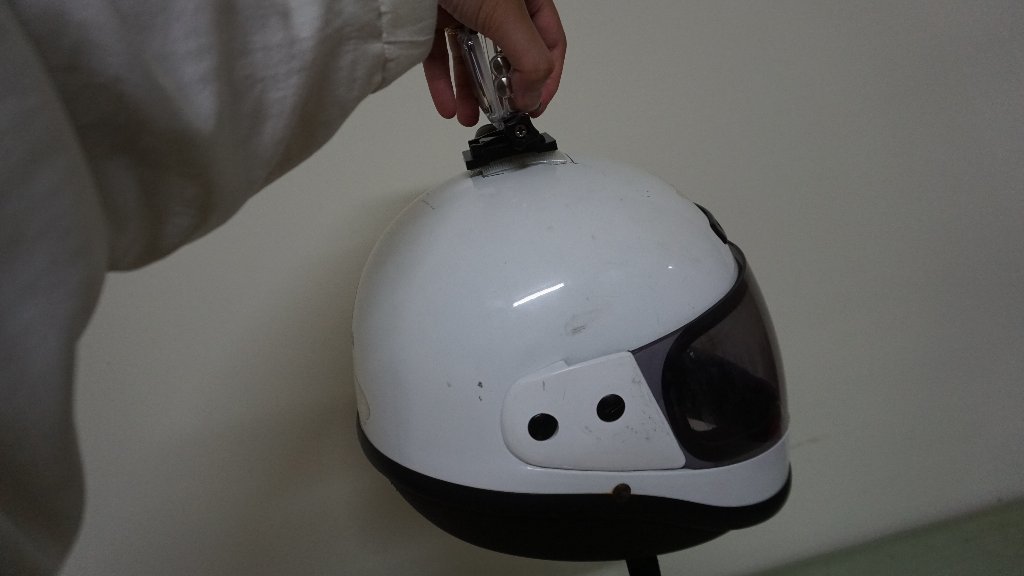
另外兩側都用密度250的子母扣也是很穩,完全沒有影響,
直接從攝影機那邊把安全帽提起來也不會掉,希望冬天面對東北季風也能這麼牢固XD
https://images.plurk.com/2cEDqahtubL6aAx7lo5T.jpg
最後實機測試,在同一路段的白天和黑夜分別錄,比較容易看出差別。
這邊設定是1080p 30fps,路段是馬公機場航廈前後那一段。
挑這邊的原因是,航廈段燈光充足,但是離開機場範圍光源變得很少
可以看出黑夜中燈光對錄影效果的影響。
加上觀光季遊客多,比較多車子給我錄XD
影片如下:
SJ4000 馬公機場路段1080p/30fps白天測試影片
https://www.youtube.com/watch?v=-p3k6WF4fGg
SJ4000 馬公機場路段1080p/30fps黑夜測試影片
https://www.youtube.com/watch?v=ANwUX9UMBks
測試過後的結論是:SJ4000白天錄影效果很好,很清楚。
但是晚上會不清楚,攝影機錄到的畫面,會比眼睛看到的黑,
在離燈光遠的地方會一片黑壓壓,
有路燈的情況就還好,還算堪用。
如果晚上要用這台錄,在市區我想是沒問題的,如果要去跑山的話挑別台會比較好。
不過晚上應該不會有人去跑山吧XD
像我有個表弟以前會晚上自己跑山,
直到有次他夜跑的時候,忽然聽到女生在他耳邊尖叫,山上明明只有他一個。
他馬上改變路線騎回市區,不敢留在山上。
從那次之後,他晚上絕對不上山XD
以上,SJ4000的簡易開箱跟測試心得,謝謝大家觀看XD
--
※ 發信站: 批踢踢實業坊(ptt.cc), 來自: 1.172.8.107
※ 文章網址: https://www.ptt.cc/bbs/biker/M.1527351730.A.D27.html
推 rashi861126: 推 我也是白色用了一年 這個價位真的不錯 下次會想 05/27 00:32
→ rashi861126: 衝5000或7000 05/27 00:32
→ rashi861126: 畢竟4000夜拍真的普普 05/27 00:33
推 op840906: 在澎湖壽命會不會比較低阿 05/27 00:57
沒有整天在室外的話應該還好推 CraziPhone: 推詳細 05/27 01:01
推 Apologize924: 最近有考慮購入來潛水 請問有試過防水的效果嗎 05/27 01:03
→ Apologize924: 謝謝 05/27 01:03
因為澎湖很久沒下大雨了,加上我是禮拜四才拿到,還沒有機會測試防水
推 scoutking85: SJ4000不是可以支援64G的記憶卡嗎? 05/27 01:13
推 lyhuang: 可以支援到64g,不過要重新格式化、格式化的方法網路上都 05/27 01:31
→ lyhuang: 有 05/27 01:31
推 franl0103: 用心推 只是這台換電池都要重新設定時間有點麻煩 05/27 01:36
大大提到一個我漏掉的重點了,這個電用的很快我第一趟去機場大概騎了20多分鐘,電力滿格四格變成剩兩格
推 s0920142: 記憶卡可以裝多少不重要,沒邊錄邊充電池會先用完 05/27 01:37
推 tso1991119: 幫推個 題外話我每次看到有裝記錄器可是帽子戴你這種 05/27 02:02
→ tso1991119: 的都很想建議要不要順便換一頂好一點的全罩比較安全.. 05/27 02:02
→ tso1991119: . 05/27 02:02
安全帽的事我有注意到,這頂人家送的先帶,之後想買瑞獅ZS-811等之後回台灣有機會試戴安全帽,才要買比較好的帽子
推 nozomi3845: 不錯 兩個月前才淘一套 不求拍車牌 釐清碰撞意外用 05/27 02:05
→ nozomi3845: 本體+邊充邊錄殼+多1顆電池+座充+下巴支架 2k有找 05/27 02:06

推 terry7627: 子母扣可以到汽車百貨行找 05/27 02:39
→ terry7627: 要夜拍的話建議直上SJ7或新出的SJ8 05/27 02:40
我家附近的汽車百貨行,我去問也沒有子母扣QQ推 dwyanelin: 還有晚上自己騎被照超速,結果罰單寄回家,媽媽說載人 05/27 02:54
→ dwyanelin: 不要騎這麼快。 05/27 02:54
→ wkwtctw: LCD 2.0"版的 05/27 04:24
推 s9845111: 小弟有個煩惱,裝帽上會有影響車禍保護性跟摔壞的風險 05/27 04:39
→ s9845111: 裝車上有視野固定不耐震畫面抖的缺點,到底裝哪較好呢? 05/27 04:40
※ 編輯: mizumutsuki (1.172.43.214), 05/27/2018 05:30:45→ mizumutsuki: 我覺得還是頭頂好,因為裝車上出車禍也是可能會壞XD 05/27 05:45
推 as5656v: 看到這個就想到我買一個月就開始熱當 然後送修了兩個禮 05/27 05:54
→ as5656v: 拜到現在還沒回來XDD 05/27 05:54
推 Liang56: 同在澎湖用sj4000推 不過我現在沒裝頭頂了 被好多阿伯阿 05/27 06:06
→ Liang56: 姨問這個是什麼東西XD 05/27 06:06
→ mizumutsuki: 什麼,這個會熱當喔 05/27 08:01
→ cc53145: 我用一個多月正中午騎車沒遇過熱當欸,原廠防水殼防水效 05/27 08:23
→ cc53145: 果很夠(浮潛),不過之後有發現背蓋扣的鐵有點生鏽,水 05/27 08:23
→ cc53145: 中拍攝能見度沒很高(2-3公尺?不確定),不建議用sj4000 05/27 08:23
→ cc53145: 水中攝影 05/27 08:23
→ a22650619: 子母扣特力屋有 05/27 09:47
→ a22650619: 用SJ4000在溪水裡攝影過 能見度的確沒很高 05/27 09:49
推 ab1026430: 咖啡好喝嗎 05/27 10:28
推 rubiksteven: 我用sj4000插64g的卡,直接開機格式化就能用了耶 05/27 11:04
→ rubiksteven: 可能韌體有更新過了吧? 05/27 11:05
→ rubiksteven: 會邊充邊錄的要注意,拔掉電源就會直接關機 05/27 11:07
推 MacGyvers: 樓上的這有辦法改成不要關機嗎?? 05/27 11:35
→ MacGyvers: 接車充但是發生車禍時熄火就會關機,後面就沒錄到啦 05/27 11:36
→ MacGyvers: 難道只能接大容量行動電源嗎? 05/27 11:36
→ FFFFFFFF: 只要車禍當下有紀錄就好 後面有沒有錄到不重要吧 05/27 11:55
推 ohmyaurora: 推廣安全推推 05/27 12:15
推 chi17: 前二天剛買了64G的卡來插SJ4000格式化到死掉,改用手機格式 05/27 13:04
→ chi17: 化就能用了 05/27 13:04
推 gamewed: 不推sj7 跟5000x比7容易點光源暈開過曝,解析度開高沒防 05/27 13:48
→ gamewed: 手震 05/27 13:48
→ rubiksteven: 回Mac,這沒辦法設定,我是插行動電源啦 05/27 14:00
→ rubiksteven: 電源放口袋,上次自摔,倒地就沒了呵呵 05/27 14:02
→ rubiksteven: 也不用多大容量,64g可以錄九個多小時 05/27 14:03
→ rubiksteven: 9600mAh的行動電源還耗不到一半的電 05/27 14:05
推 turkiali01: 推一個 05/27 14:10
→ asapken: 推!有預算再換個安全帽吧 05/27 14:17
推 antaresptt: 推 05/27 15:35
推 jwjt0130: 我這台用720p30fps拍的比較清楚 1080p看不太到車牌 05/27 15:36
→ kai0476: 沒 不過就算漏水壞掉也不是太痛吧XD 05/27 15:43
推 cody5361: 推推 最後那一段也太恐怖 05/27 19:37
推 suku00: 推同鄉 05/28 00:04
推 yesyesyesyes: 可以帶去潛水 05/28 10:32
推 infinitem35: 我SJ7用的很開心啊 開1080P 60FPS就好 05/28 12:46
推 tyr2004: 推 05/28 13:25
推 rfadslakk: 推 最近也才剛入手SJ5000X 05/28 16:13
推 QoiiwWe: 先推! 05/28 16:18
噓 HeyJayK: 自己有SJ6L,絕對不推SJ晚上是悲劇 05/29 02:03
推 ez2dancer: SJ7用1080P/60FPS檔案超大,兩分鐘就520MB,嚇死人 05/29 06:03
→ ez2dancer: SJ8 Pro出來了想試試看,但是太貴了1500人民幣 05/29 06:17